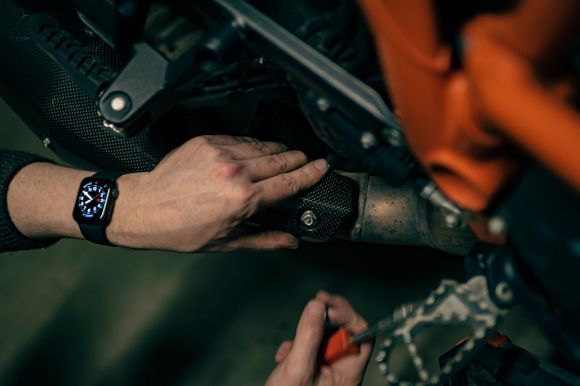
Motorcycle fairings are an essential component of a bike’s bodywork. They not only enhance the overall appearance but also play a crucial role in protecting the engine and other vital parts. However, there are times when you may need to remove the fairings, whether it’s for maintenance, repairs, or customization. In this article, we will guide you through the step-by-step process of removing motorcycle fairings.
Gather the necessary tools
Before you start, gather the tools you’ll need for the task. These may include a screwdriver set, socket wrenches, pliers, and Allen wrenches. It’s important to have the right size and type of tools to avoid damaging the fairings or the bike itself.
Locate the fasteners
Next, you’ll need to identify and locate the fasteners that hold the fairings in place. Fairings are typically secured using a combination of screws, bolts, clips, and plastic rivets. Take a close look at the fairings and find all the fasteners that need to be removed.
Remove the seat
In some cases, you may need to remove the seat before you can access the fairings. This is usually done by removing a few screws or bolts that hold the seat in place. Once the seat is removed, you’ll have a clearer view of the fairings and the fasteners.
Start with the side fairings
Begin by removing the side fairings, as they are often the easiest to remove. Look for the screws or bolts that secure the fairings to the bike’s frame or subframe. Carefully remove each fastener, keeping them organized so you don’t lose any. Once all the fasteners are removed, gently pull the side fairings away from the bike.
Move on to the front fairing
After removing the side fairings, it’s time to tackle the front fairing. This is usually the largest and most complex piece to remove. Start by removing the windscreen, if your bike has one. Then, locate and remove the fasteners that secure the front fairing to the bike’s frame or headlight assembly. Take your time and be patient, as there may be several fasteners to remove. Once all the fasteners are removed, carefully lift the front fairing away from the bike.
Remove the tail fairing
The tail fairing is typically the last piece to be removed. Look for the fasteners that secure the tail fairing to the bike’s subframe or rear fender. Remove each fastener, keeping them organized. Once all the fasteners are removed, gently pull the tail fairing away from the bike.
Inspect and clean
With the fairings removed, take the opportunity to inspect and clean the areas underneath. Check for any loose wires, damaged parts, or signs of wear. Clean the exposed parts using a soft cloth and mild detergent, if necessary.
Conclusion: Reinstall or customize
Now that you have successfully removed the motorcycle fairings, you can either reinstall them after completing the necessary maintenance or repairs, or take the opportunity to customize your bike’s appearance. Whatever you choose, remember to carefully reinstall the fairings using the reverse order of removal, making sure all fasteners are securely tightened.
Removing motorcycle fairings may seem like a daunting task, but with the right tools and a systematic approach, it can be done easily and safely. By following the steps outlined in this article, you’ll be able to remove your bike’s fairings without any unnecessary hassle or damage.
